Bulk Email Verification, Step by Step: From CSV to Clean List
A complete walk-through of verifying a list: prepare the file, upload, read the results, segment and import the clean list into your tool.
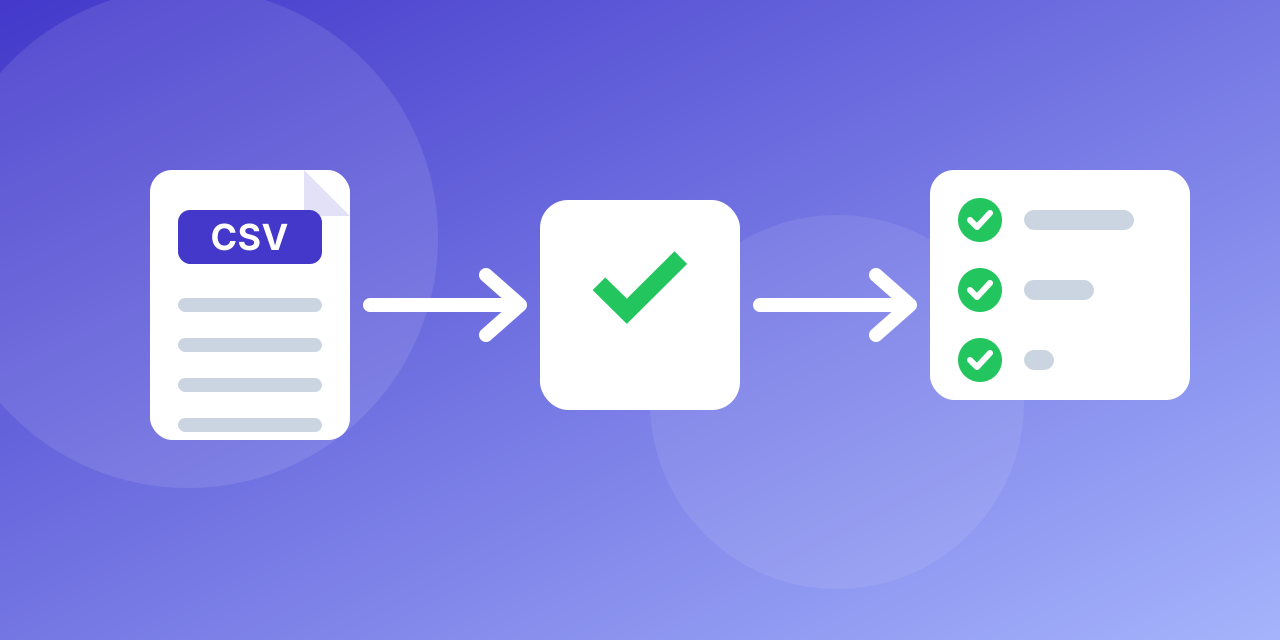
This guide takes you from a raw export to a clean, segmented list.
1. Prepare the file
Export your contacts as CSV or TXT with the email in the first column. Remove empty rows and obvious junk, and deduplicate if you can. Save as UTF-8.
2. Upload
Open the bulk verifier, name the list and upload the file. Large files simply take longer; you can leave the page while it runs.
3. Watch the results
Results appear as the file is processed. Each address receives a status: valid, invalid, risky or disposable.
4. Download
Download the result when it finishes. Files and results are archived 14 days after creation, so download within that time.
5. Segment
- Import valid into your main list.
- Hold risky and accept-all addresses in a separate segment.
- Remove invalid and disposable from all systems.
6. Make it a habit
Re-verify before big campaigns and add real-time checks on sign-up forms. Every account has 100 free verifications a month, and paid plans start at $19.90 a month for 25,000 verifications (about $0.80 per 1,000) and fall to about $0.50 per 1,000 on the largest plan. Compare plans on the pricing page.
Checks to run on the file before you upload
A little preparation makes the result easier to use.
- Keep one address per row, in a single column if possible, and a header row if you have other columns.
- Save as CSV (UTF-8), XLS, XLSX or TXT.
- Remove obvious junk such as blank rows and test entries.
- Keep an ID column (a customer or contact ID). It lets you merge results back into your CRM without matching on the address.
Reading the summary
The summary page shows the share of each status. A healthy marketing list of recent sign-ups often has a large valid share. A list that is years old, bought or collected at events can show many invalid and risky rows. Use the shares as a quality score for the source, and compare the next file against it.
What to do with the download
The download lets you choose the groups you want:
- Clean file: valid addresses, ready for your sending tool.
- Risky file: accept-all and unknown, for staged sending.
- Removed file: invalid and disposable, kept as a record, not mailed.
Import only the clean file into your main audience. Add the risky file as a separate segment with a note.
Making it a habit
Name your result files with the date and the source ("2026-10-event-leads-clean.csv"), and set a reminder for the next check. Start with a free check of a few addresses, or upload your list now.